

Natural inspiration: make your own kokedama
This time, Baladre Crafting-creativity introduces us to this handcrafted plant technique from the traditional Japanese culture to connect with nature and fill our home with green. Are you ready? Let’s get started!
I remember a visit I made in winter to the Real Jardín Botánico of Madrid. If you have not been there, I recommend you to do so when you have the chance. I was walking around the beautiful shop there, when I saw one of the shop assistants wearing an apron, putting a kokedama into a large vase filled with water. It was like watching a cook preparing a recipe or an artist painting a picture, we were all absorbed in watching her and you could tell she was enjoying the moment.
There is something captivating about this practice. Not only is the process of making a kokedama relaxing, but also admiring it at home and watering it become a special moment of connection with nature and love for botany. That is why I encourage you to try it for yourself.
What is kokedama?
Kokedama is simply translated as moss (koke) and ball (dama), then we could say that they are “moss balls”, that’s it! Actually, the meaning in Japanese goes beyond words, as this oriental gardening technique is based on moss balls to grow ornamental plants, but the essence is in the process itself and in what the plant spheres convey.
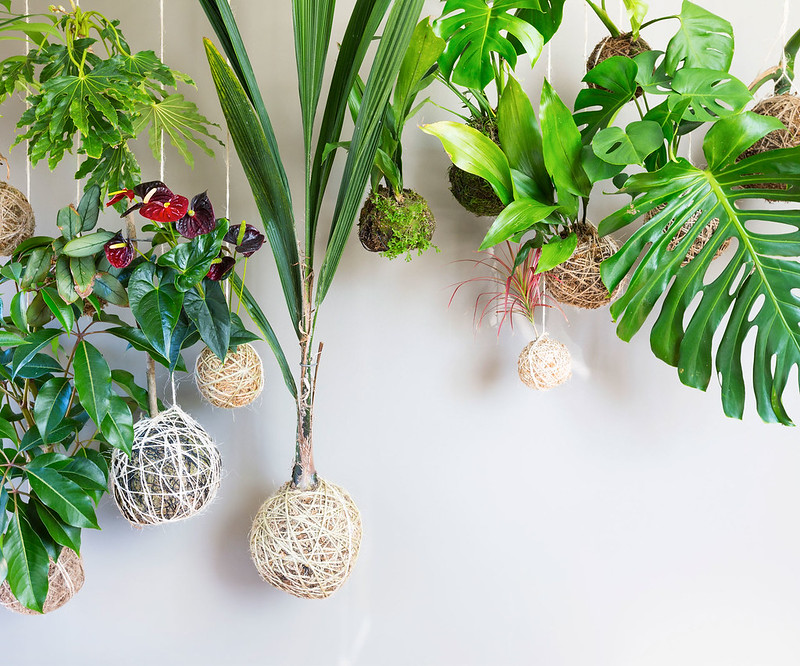
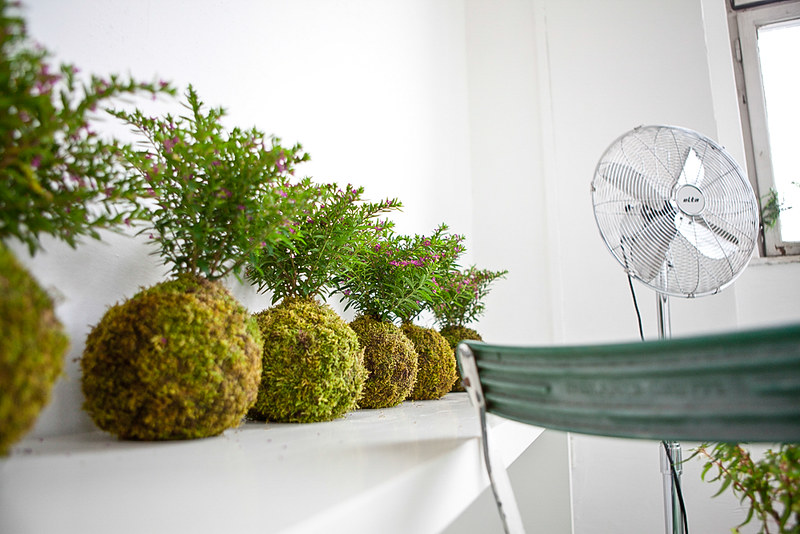
Kokedama is considered to be a decorative technique but also a technique for relaxing and getting closer to nature. It allows us to have plants at home without taking up much space as they are not potted and are usually hung up.
Their ethereal and simple appearance make it difficult to resist these small creations that live suspended in the air, so I encourage you to enjoy this beautiful and original technique that will help us to understand the plant world.
Its origin
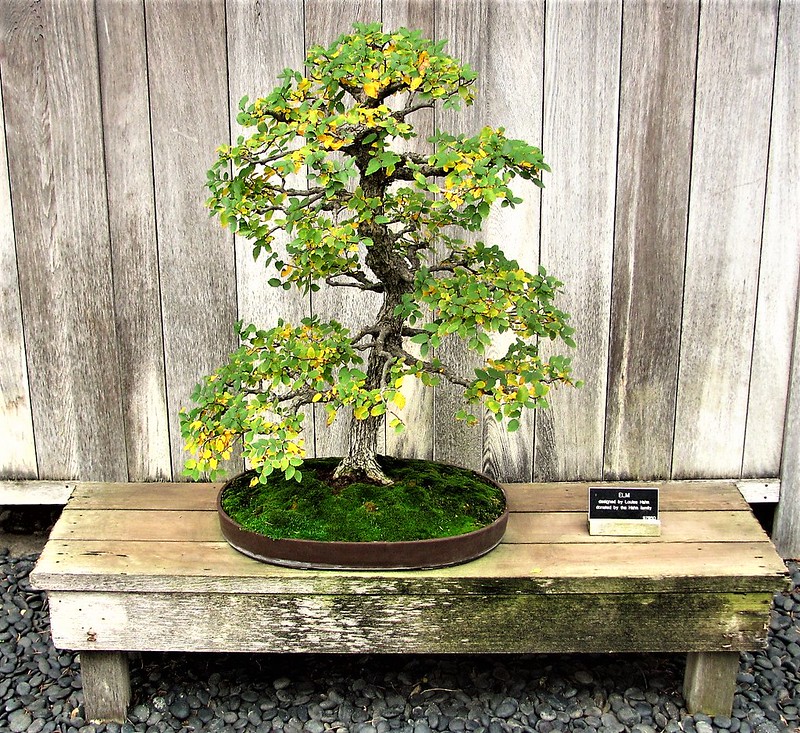
Although unconfirmed, this technique is believed to be closely tied to the popular art of bonsai, an ancient practice of growing trees and shrubs in small dimensions that began around 700BC in China. Kokedama, however, began about 500 years ago in Japan, although it only really gained international fame in the 1990s.
And how did it happen? An essential part of the bonsai technique is the pot, which must match the species chosen. Some consider that the kokedama was created by those gardening enthusiasts with few economic resources who opted to make moss balls to avoid having to buy pots for each creation.
Be that as it may, it is true that kokedama allows you to create small universes of nature with very few materials. All you need is moss, peat moss, clay and river sand, as well as thread, string and the plant species you choose.
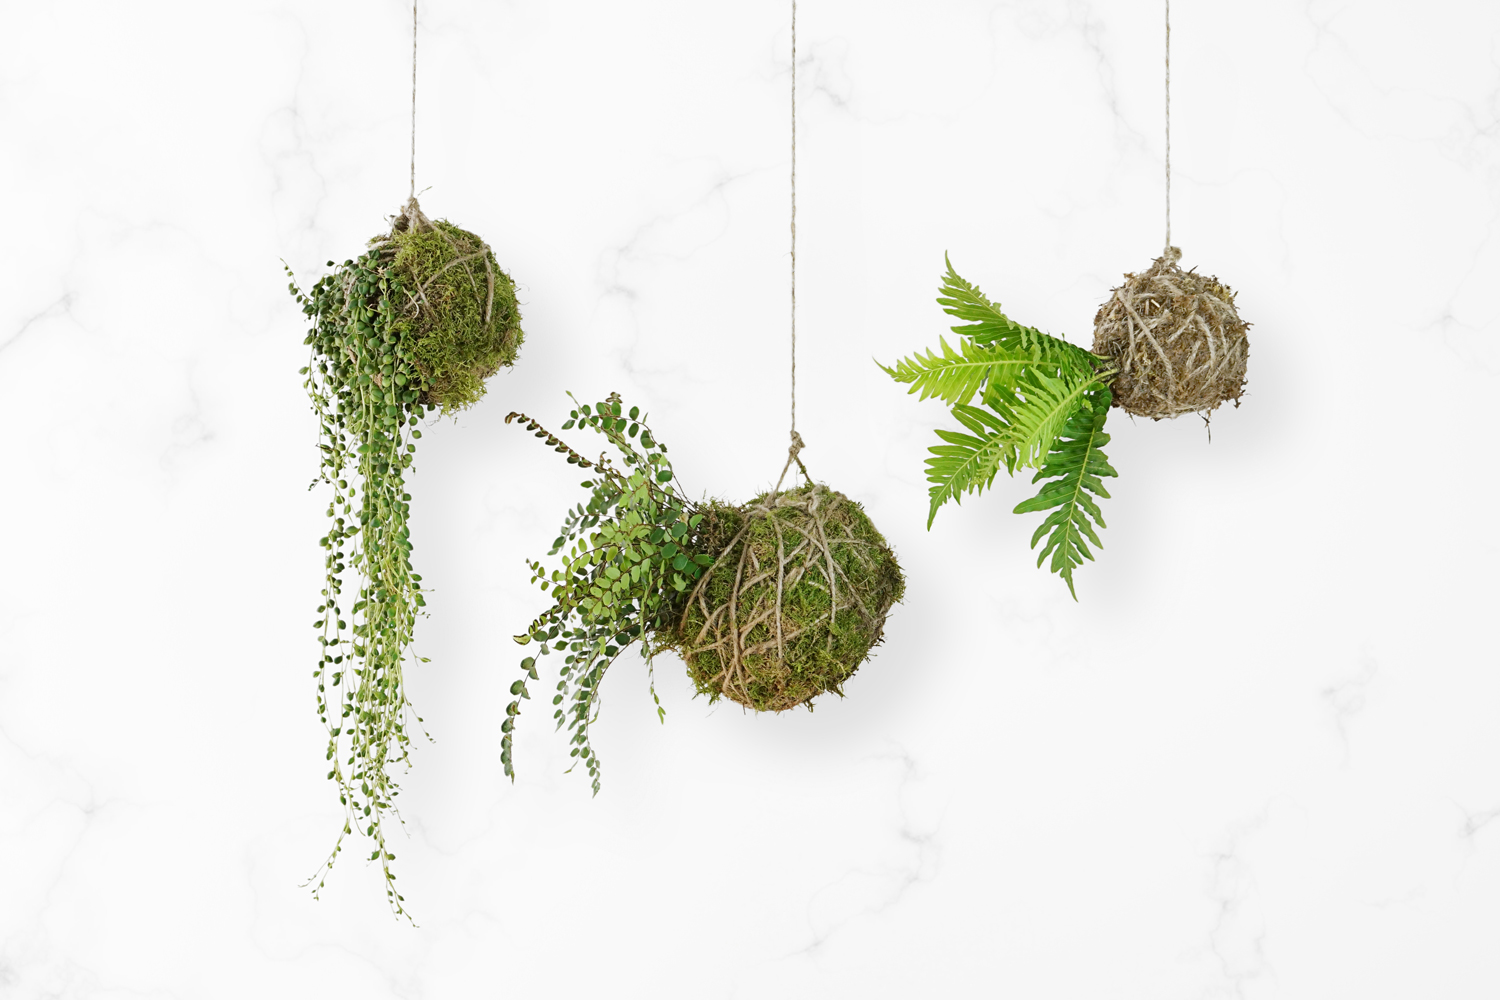
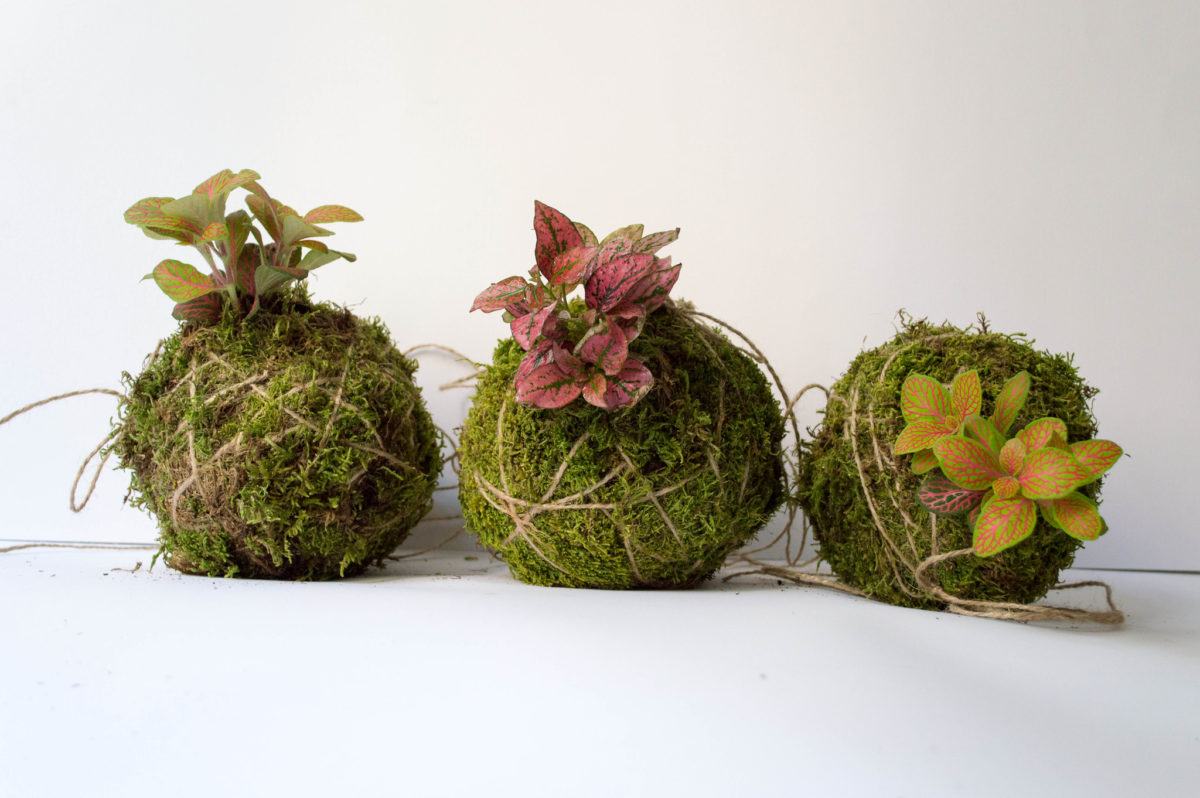
What kind of plants can we use?
The wonderful thing about kokedama is that it will need a bright but not too sunny environment, perfect for indoor environments, as it is based on a ball of moss. So, although it is recommended to use plants with similar requirements to those of bryophytes, it is also possible with a wide range of species (perhaps with a little more specific care).
Small flowering and non-flowering plants, ferns, orchids, ivy, spider plants, coleus, aromatic herbs, carnivorous plants, shrubs, saplings and even some species of succulents. There are so many options!

Did you know that…?
Although these small plant creations can be placed on trays, they are usually suspended in the air. Evocative mini-gardens with which we can create dreamy green scenes in any space and which will help us to escape and relax with both the result and the process.
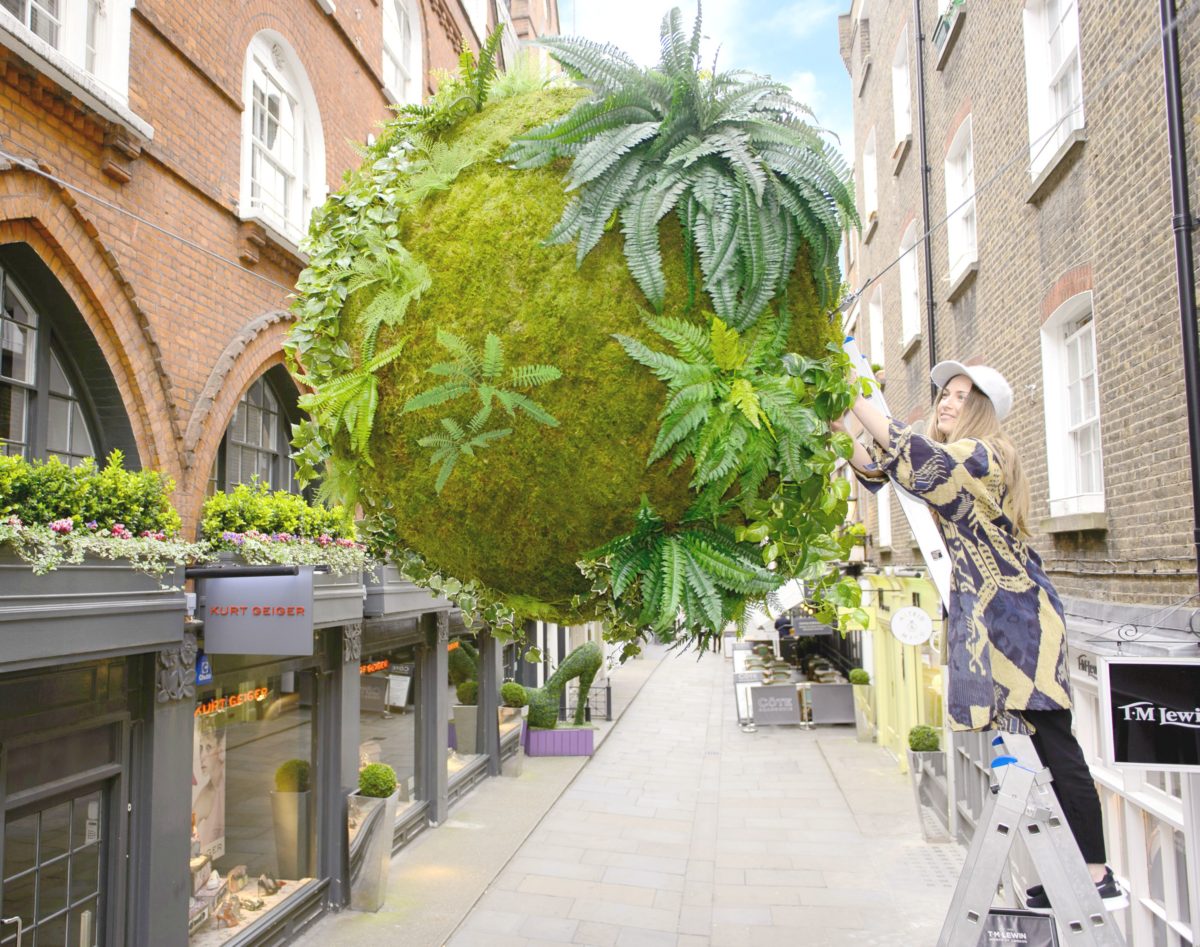
‘Rise’, Anna Garforth‘s botanical installation in London’s St Christopher’s Square, to welcome spring. / Housebeautiful.com
It is a combination between art and nature used in the well-known Japanese tea ceremonies to harmonise rooms and improve relaxation that has inspired some famous bioartists such as Anna Garforth, who has even placed a giant kokedama suspended in the air in the middle of a square in London, among other inventions.
Make your own kokedama
Materials
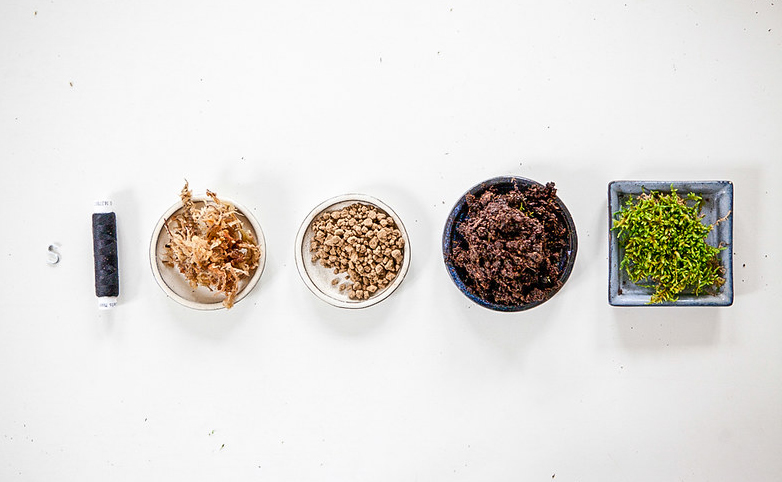
- 1 small plant
- Moss (purchased, not collected from natural areas)
- Peat moss substrate
- Akadama (Japanese volcanic granular clay)
- River sand
- Coconut fibre (optional)
- Cotton thread and/ or natural fibre twine (hemp, jute, sisal, flax)
- Scissors
- 1 pitcher with water
Things to keep in mind
Choose a plant which grows slowly so you won’t need to change the ball or expand it frequently.
The quantities needed and, therefore, the size of the ball vary according to the size of the plant. The ratio of substrates should be 3 parts peat, 1 part akadama and ¼ part river sand. As akadame is a very specific product and can sometimes be a bit expensive or difficult to find, you can try a substrate based on peat (70%), clay (25%) and perlite (5%) or get advice from your garden centre depending on the needs of the plants you are going to use.
Step by step
1. Find a large place, such as a table, and cover it with some cardboard or tablecloth to avoid getting it dirty.
2. Take the plant out of its pot and gently clean the root to remove excess soil so that some roots are visible. Keep the excess soil.
Modelling the substrate mix. / DIY by Nana Kokedamas for Fábrica de Imaginación
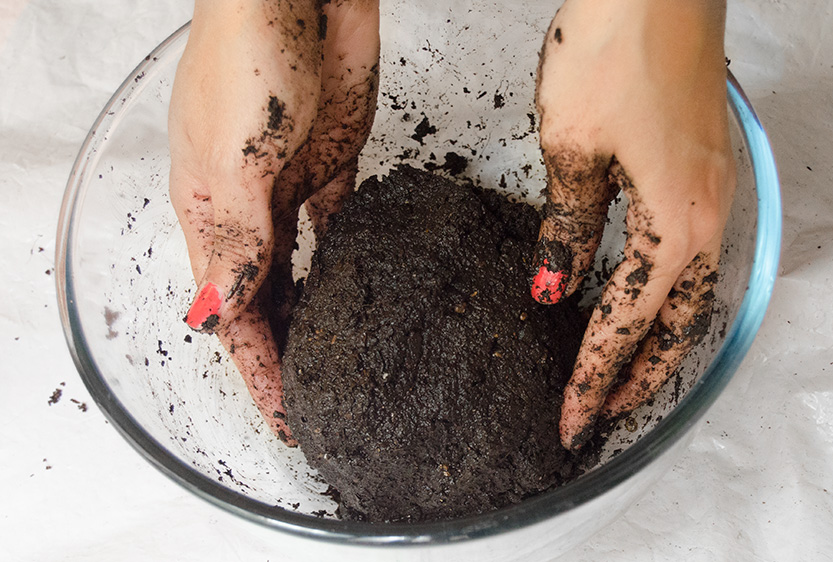
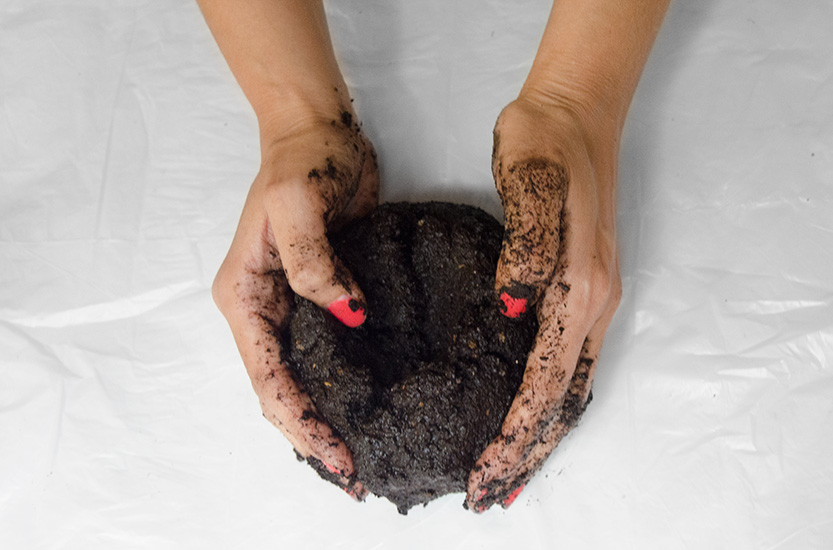
3. Place the subtracts in a container and mix them while adding water little by little until a clay consistency is reached. Add the leftover soil from the root ball of the plant and mould it all into a ball. Don’t forget to enjoy the moment of kneading the soil and getting your hands dirty.
4. Then make a central hole at the top and place the plant there. If you think the root ball is still too big, you can make it a bit smaller and even cut some roots if they are too long. Shape the plant and substrate together again so that it retains its rounded shape, but do not squeeze it too tightly.
Making a hole at the top of the ball / DIY by Nana Kokedamas for Fábrica de Imaginación
5. Hydrate the moss with by spraying it on both sides with water until it is completely damp.
- Spread the already damp moss on the work surface and place the ball in the middle. Then wrap the moss around it gently and tightly, covering every corner of the substrate, as if you were wrapping a present, a nice, plant-based one. Note: If you have coconut fibre you can use it here, mixing it with the moss before using it. Coconut fibre will help the ball keep hydrated, but it is not essential. In fact, some people who are unable to find moss from a sustainable farm replace it with this fibre.
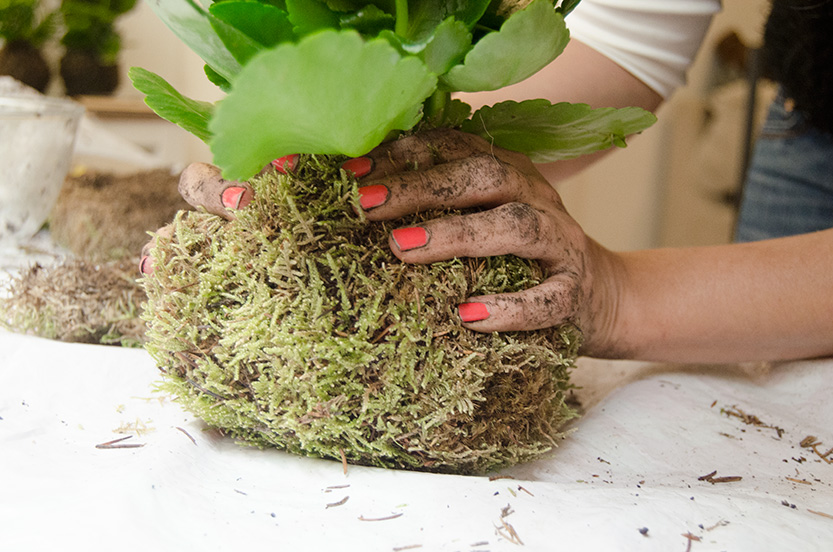
Covering the ball with moss. / DIY by Nana Kokedamas for Fábrica de Imaginación
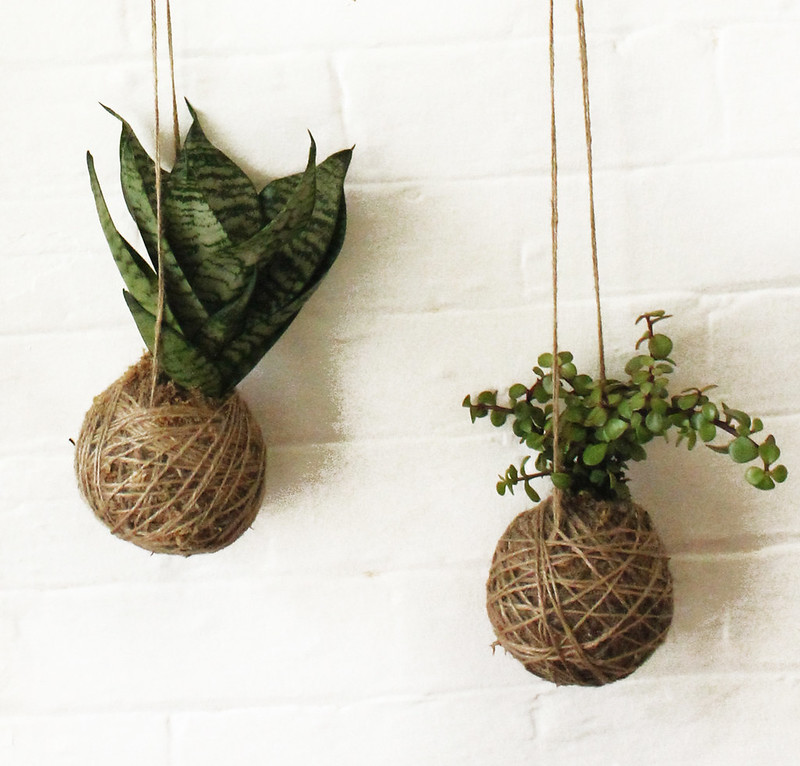
7. Once you have it all done, take the cotton thread and tie it up around the ball until is secure and knot the ends. Bear in mind that the thread is going to be the pot where the plant will be resting, so try to distribute it well. You can also use string, depending on whether you like it to be visible or not. If there are some pieces of moss on the outside that are visually disturbing, you can use scissors to trim off the excess.
8. Now you just have to find the perfect place for the kokedama! You can put it on a decorative plate, flattening the base a bit, or hang it with a string achieving that characteristic ethereal effect, this is how I like it best. For example, you can leave some string left over from the previous step to allow to do so.
Recommendations and care tips
The Kokedama is a living being, therefore, we must take great care of it. If you do it properly, it will last for years in good condition. So to keep it looking amazing, you should take into account the following recommendations:
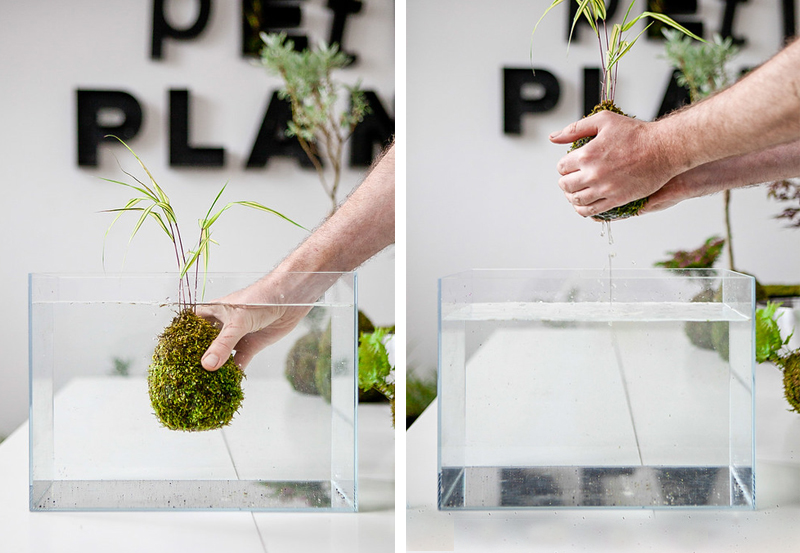
Watering kokedama by immersion. / Petite Planet Kokedama Studio, Aron Erdohati. Flickr
Wait until the kokedama is fairly or very dry before watering it by immersion. How? Place the ball in a large bowl of water so that it is half covered. Soak it for 10-15 minutes, then remove it and let drip dry on its own. Do not squeeze the kokedama ball, give it time and let it remove what is does not need.
Do not expose it to direct sun, otherwise the moss may dry or even burn.
If you live in a dry climate, you can spray the leaves of the plant with water if needed.
After flowering, remove the dried parts by hand.
You can rotate the ball so that the light reaches every part and it does not twist and unbalance.
Clean the leaves from time to time to remove dust using a cotton cloth or wet gauzes.
You can use fertilisers diluted in irrigation water.
Keep possible pests under control (aphids, fungus, mealybugs…).
If something breaks, you can “sew” more thread directly to the ball.
And as always, have fun!