

Hydroculture or how to decorate and propagate plants by water
On this occasion, Baladre Crafting-creativity proposes to introduce us to hydroculture or water-based plant propagation, a simple vegetable technique within the reach of anyone and that will make life easier for all those who want to fill their homes with green. If you want to know more about all the steps to grow plants using only water and the benefits it will bring you, keep reading!
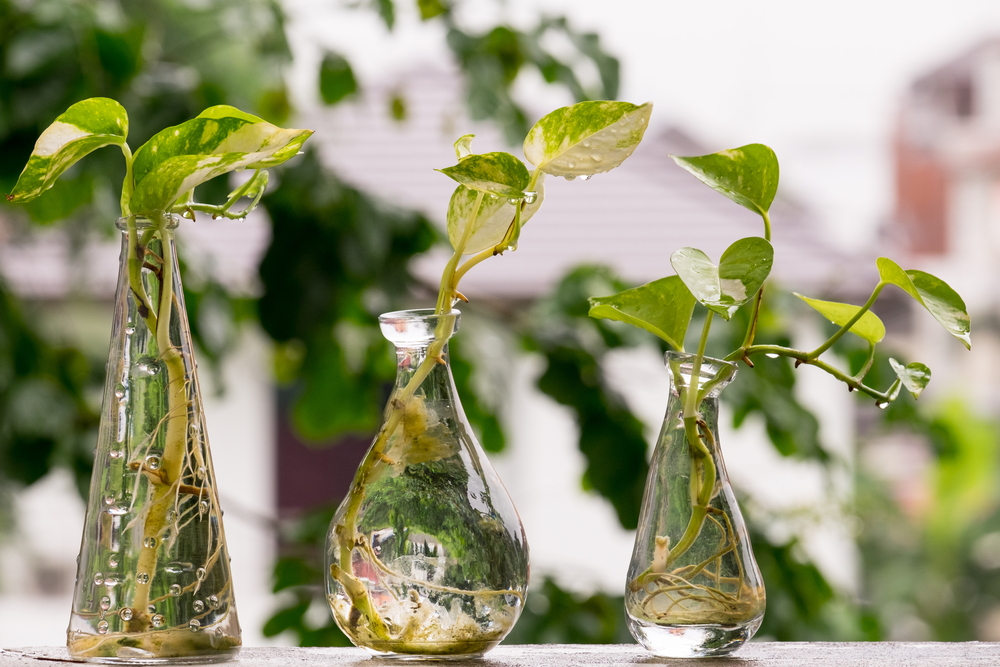
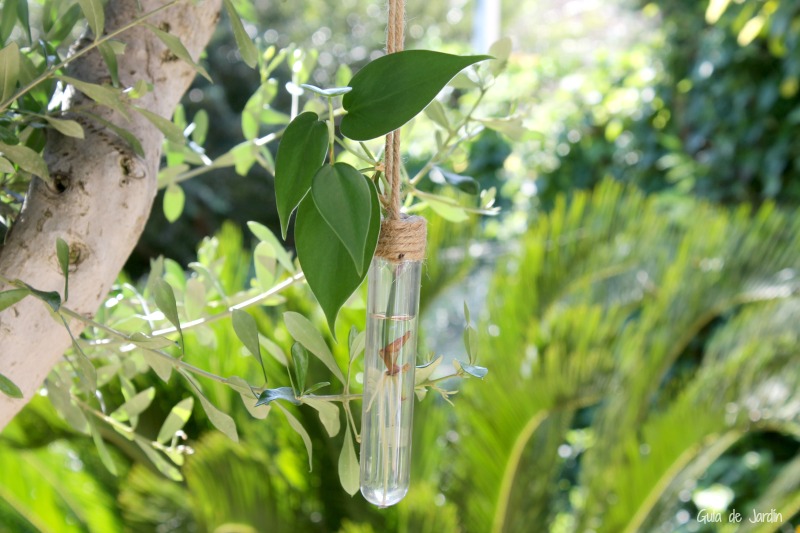
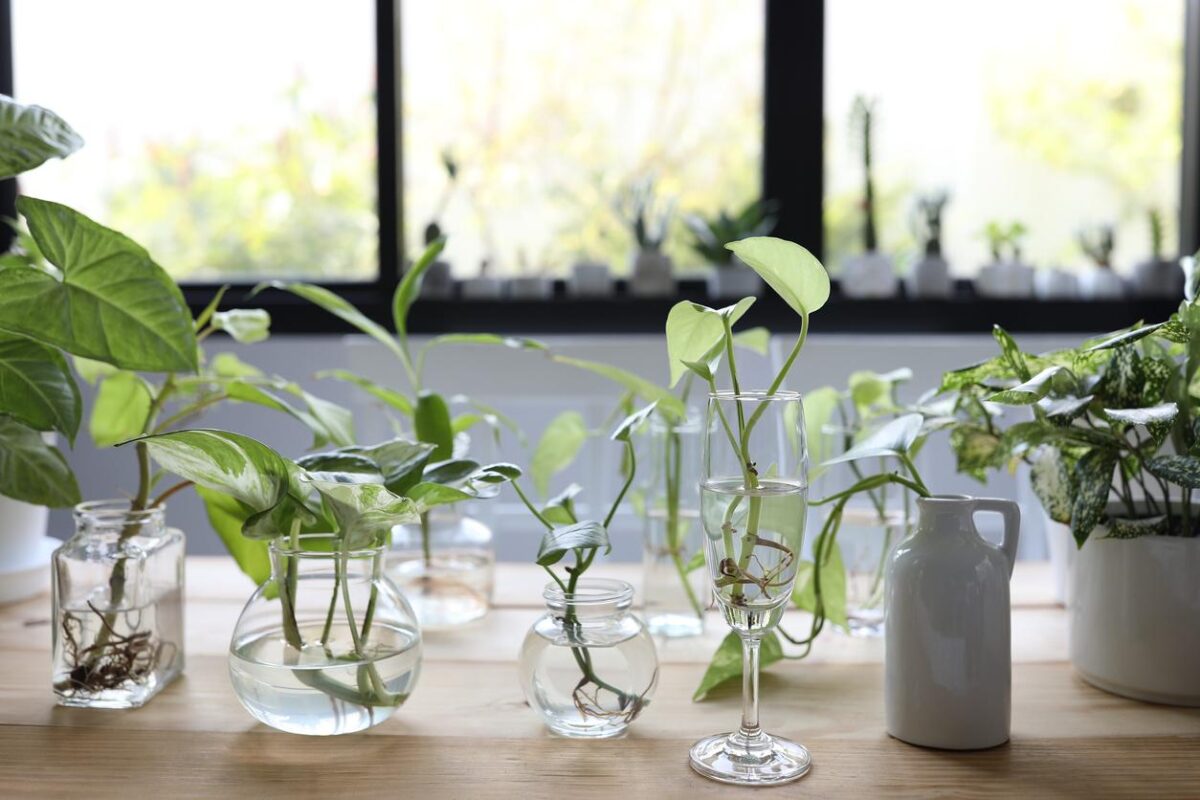
If you are a good plantlover or decolover, I am sure that the plantilist radar in you has noticed those rooms with walls full of water containers where small plants grow without using soil. Be careful, it is not magic, nor are they artificial plants! In fact, these plants live quite comfortably in these limited containers.
Apart from being a very cool way of decorating with plants, which is becoming more and more popular, this is a method that has been used in gardening for a long time, and is known as hydroponic cultivation. Another similar technique is the propagation of plants by water – we’ll take a look at them!
Hydroponic cultivation or hydroculture
Deciphering the concept:
If we translate the word hydrocultivation, it would mean something like “breeding of organisms in water”. If you break this word down, you have on the one hand the element hydro- (water) and the word -cultive, which comes from the Latin cultivus, i.e. “relating to the result of working and caring for the soil to produce plants”.
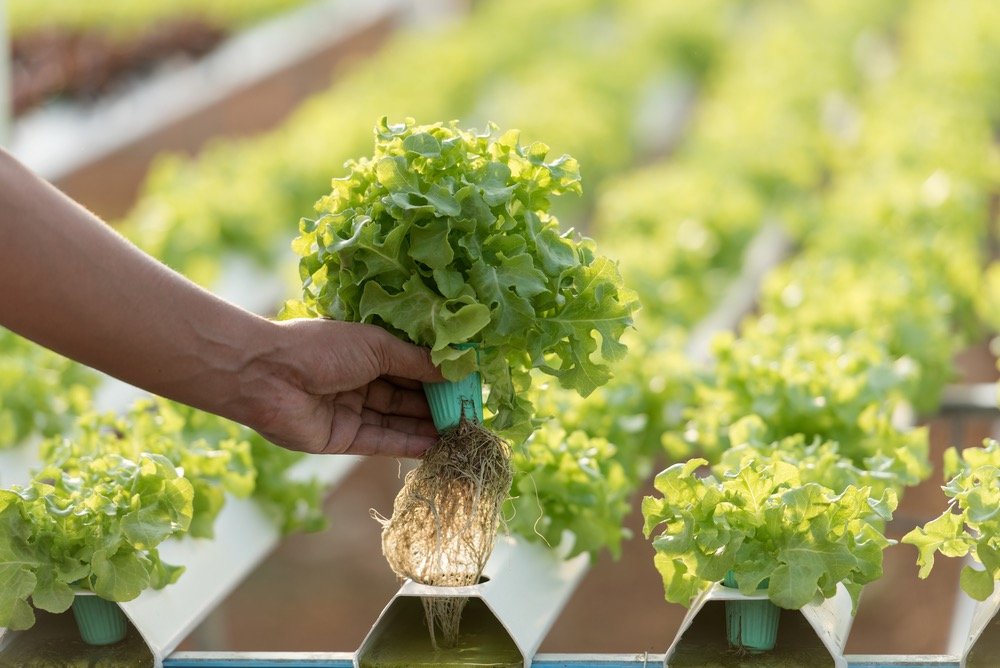
On the other hand, hydroponic gardening is a technique for growing plants without using soil. Water does all the work, including providing nutrients to the roots of the plants. In this case the word hydro– means water, and –ponos means work.
A bit of history:
Hydroponics is not something we have just invented. We will take a historical tour on the subject; we go back to ancient times, where our most observant ancestors saw that on the banks of rivers, plants took nutrients and grew happily; from there, several civilisations began to implement water-based forms of cultivation. Unbeknownst to them, hydroponics was born at that very moment.
It is now in the 6th century BC, in the area around what is now Iraq. The famous Hanging Gardens of Babylon were built. Unfortunately there is no evidence of what they actually looked like, although if we go by their description they are said to have been a multi-level construction where water flowed through canals, and lush vegetation sprouted and overflowed from the balconies. Whoa! That must have been something to admire for hours, right? And with the murmur of the water, it must have been very relaxing to walk around it…

From these impressive gardens, one of the Seven Wonders of the Ancient World, we can deduce that in order to grow and survive some plants fed on this water. Hydro cultivation again!
Now we jump back more than 1200 years, when the Aztec Indians cultivated dacsa on barges by means of a framework of thatches called chinampas. These floating gardens were composed of sediment from the bottom of the lake where they tilled, and provided nutrients for the crops and plantations.
It seems that Marco Polo also discovered very similar floating plantations during his visit to China, a discovery that surprised him because he had never seen anything similar before.
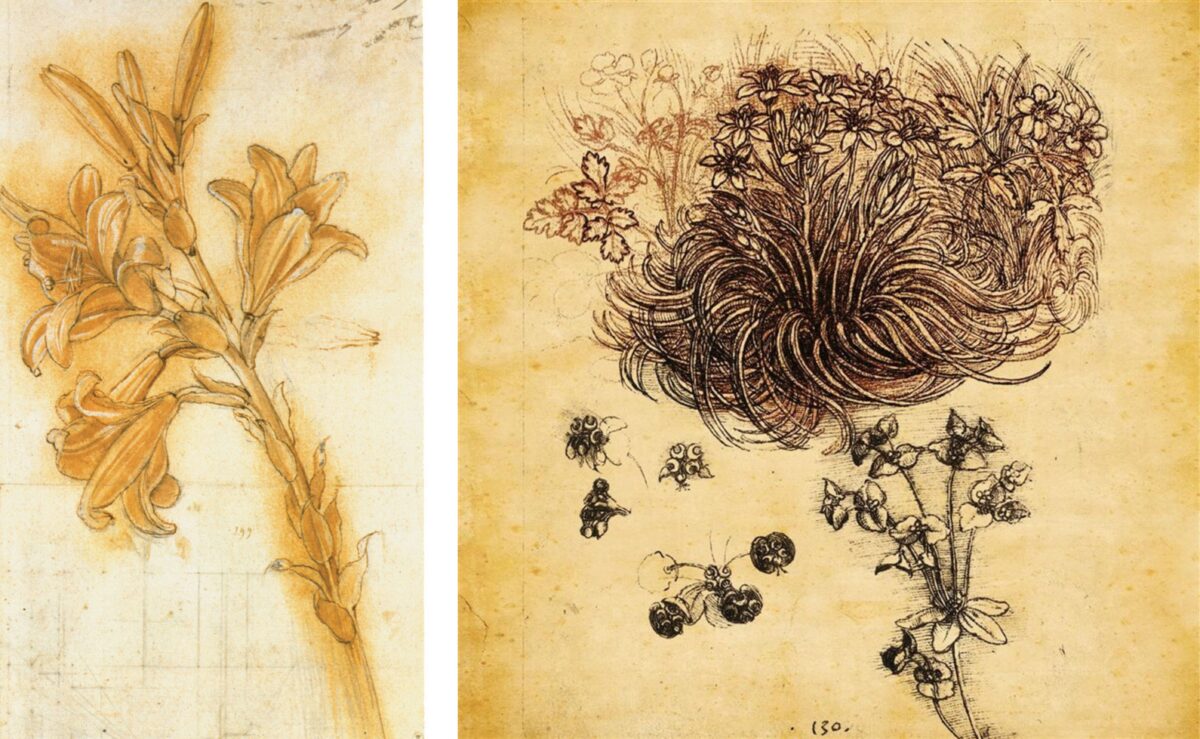
In the Italian Renaissance, Leonardo da Vinci observed that both plants and crops need to absorb minerals in order to survive. A few years later, in 1624, the Belgian physician Jan van Helmont documented from his experience that plants obtain nutrients from water. To prove this, he grew a young willow tree in a plant pot to which he only added water. After five years, the willow had increased in weight by 74 kg, while the plant pot soil had decreased in weight by only 57 g. Based on the results, Van Helmont concluded that all of the plant’s substance originates from water and not from soil.
In 1699, the English naturalist and geologist John Woodward grew vegetables in different containers of liquid, to each of which he added various amounts of soil. After some time he detailed that plants grew better in the less pure water sources than in those containing distilled water.
Later, in 1860, the German scientists Sachs and Knop succeeded in completely isolating the plant from the soil and made it grow by means of a solution of mineral elements, a technique known as nutriculture.
Finally, between 1929 and 1930, Dr. William Gerike, a professor of plant physiology at the University of California, achieved unprecedented success in setting up outdoor soil-less growing units for commercial purposes. He named this technique hydroponics. Gerike is considered the father of this cultivation technique that has proven to be an alternative to the world’s food problems.
This form of cultivation has crossed borders and could be a way of cultivation suitable for space and space travel. NASA is currently studying and researching this in the research department dedicated to hydroponics and organic farming. It would be a challenge to be able to supply and grow live plants, but there are already PWM hydroponics test cells on the space station. As astronaut Mike Hopkins shows us some nice pictures from up there.
Benefits of the system:
The roots of a plant growing in soil are constantly in call and search for the nutrients needed to survive. On the other hand, if this same plant is exposed directly to a medium with water and nutrients, without any soil, there is no expenditure of energy to maintain itself. All the energy is available for the growth and maturation of the plant!
Goodies:
– Simple and convenient technique
– Rapid specimen growth
– Stronger performance
– Higher quality
– Shorter cultivation period
– Reduced water consumption
– Can be used indoors and outdoors
– No need for fertilisers and other pesticides
Are you a mess with plants? Try this method!
We know that there are people who find it very difficult to keep a plant alive. However, they would love to have them at home, but in order not to have a hard time (and not to have a hard time on the plant in question) they stop trying. But… ok, good news! It seems that this method is friendly to them, and also to those who don’t spend much time at home.
If you know of the existence of any human being with the characteristics described in the previous paragraph, send them this post immediately!
Let’s talk about water:
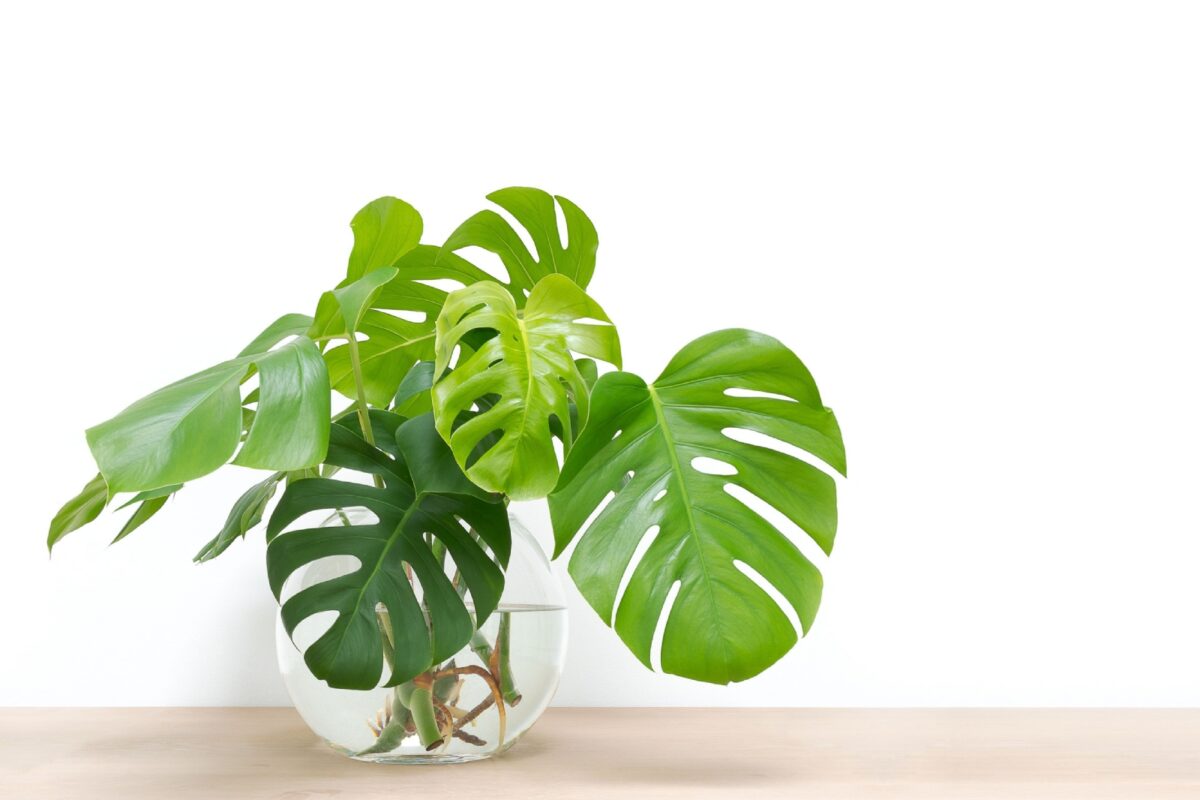
The magic of this effect is to contain the roots in a transparent container with water only.
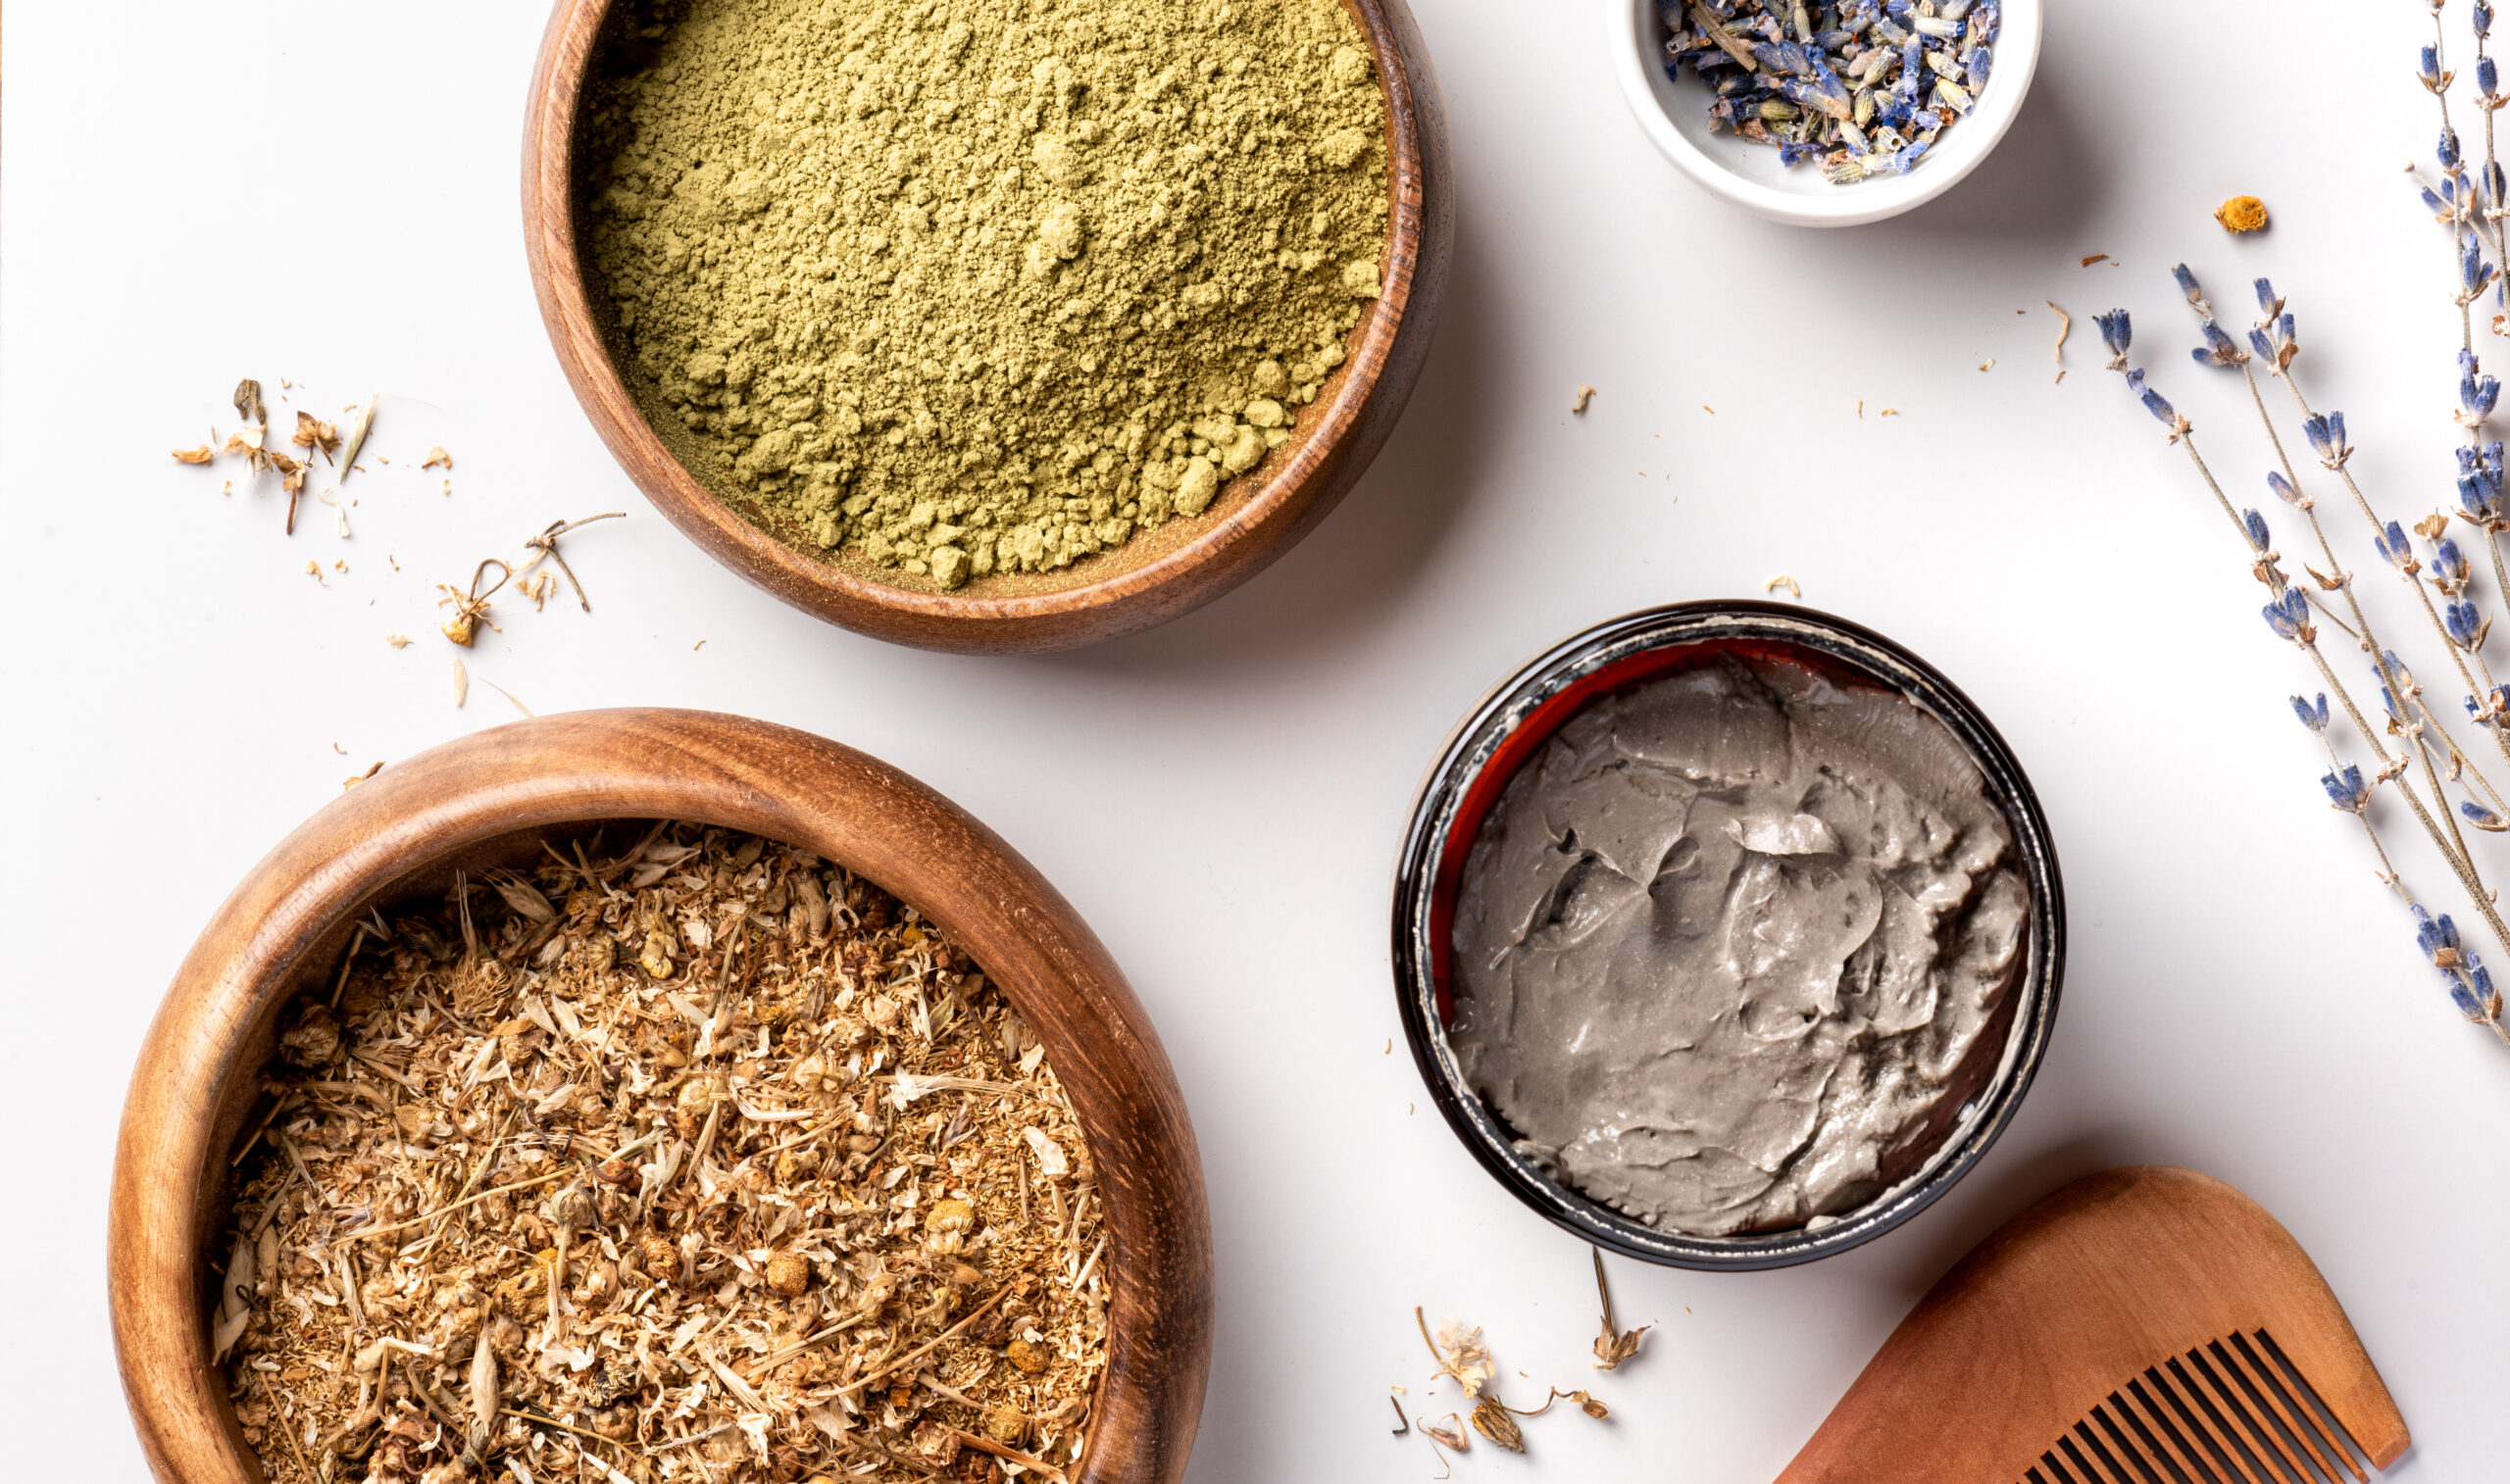
But the plants will be happier if the water they rest in is enriched with nutrients and minerals. The basics are Nitrogen (N), Phosphorus (P) and Potassium (K), but there are more. You should introduce the necessary ones according to the type of plant you are caring for.
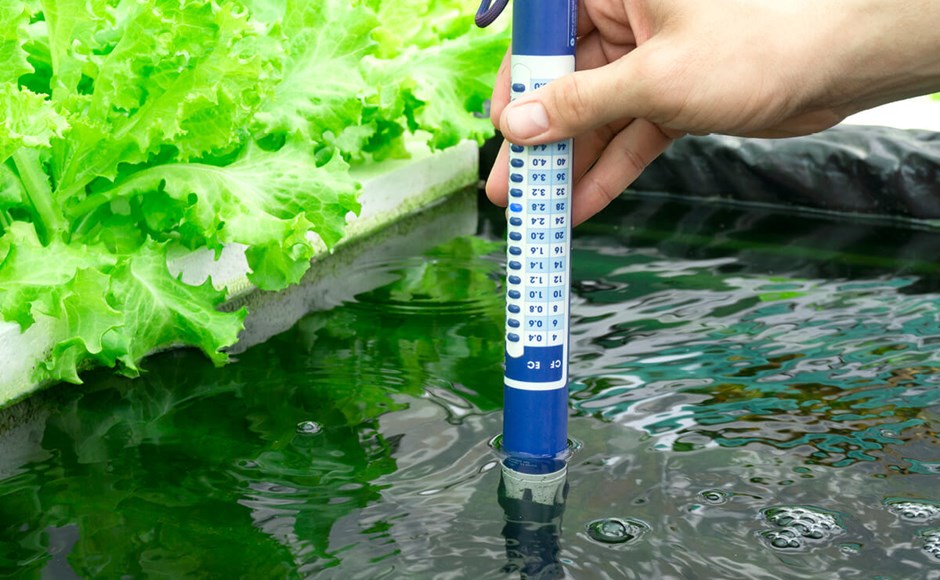
The correct pH of the water is also very important for optimal growing conditions. A pH level between 5.5 and 6.5 is suitable for most plants. pH thermometers or pH strips will help you in this task. Don’t get obsessed, just check it from time to time to make sure that everything is going well, that’s all.
If the container is small it costs nothing to change or replenish the water, it can even be a relaxing task. This will be good for our plants to oxygenate the water, because we know what happens to water if it remains stagnant for too long, don’t we?
If you have a larger container you might be a bit lazy to change all the water, in this case I advise you to use a circulation system to pump the water and circulate it properly, you can use water pumps (the typical ones in fish tanks).
Note: remember that all this is not necessary, in theory this method works by adding water and nothing else. However, anything extra you do to keep the water in good condition will make the plants more comfortable and grow better.
Live the scientific experience in your living room!
To sum up, and taking into account all of the above, we can have an Eden at home as small or as big as we want. Recreate the technique at the same time that you have an original, modern and organic deco!
Note: Since this method has gone viral there are many companies that make life easier for us and make containers, nutrients, hydroponic gardening kits, etc. available to consumers. Products that you can or cannot buy to get started.
To get started you need:
– Glass container
– Plant
– Water
– A sunny place (direct/indirect light according to the needs of each plant)
Remember to change the water every 5-6 days and observe if the plant is growing healthily. If not, you will have to modify parameters such as the place where it is located, the amount of light it receives, the air currents, consider adding some nutrients to the water, etc.
Don’t go mad and don’t try to do everything at once, because you won’t know exactly if that’s what our green friend needed or not. Try one thing, let a few days/weeks go by (important: don’t go too fast!) and then observe the results. With plants you have to be patient and know how to wait.
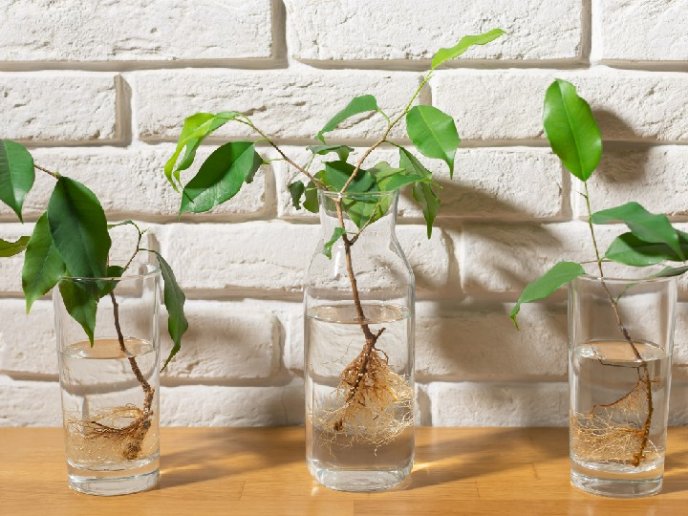
Propagation of plants by water
Another very similar method is to propagate plants using only water through cuttings, allowing the cuttings to take root and develop.
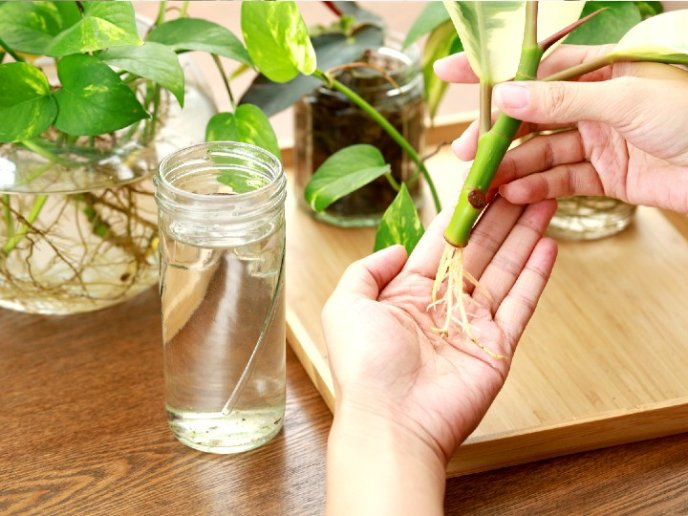
A cutting is a living part that has been taken from a plant, if kept in a container it develops and generates a plant identical to the initial one. Multiplication by cuttings is a process of propagation of certain plants (the most appropriate ones will be mentioned later).
In order to have a perfect cutting, a clean cut must be made at key points of the mother plant. These key points can be a stem, a branch or a shoot.
It is then placed in a container of water to develop roots.
Once developed it can be transplanted or kept in a container with water, if we choose the second option we are back to the hydroponic gardening or hydroculture method.
Why do I say that plant propagation by water is another very similar but quite different method? Well, the more attentive among you will already have noticed.
In hydroculture a developed, more or less young plant is placed in a container of water. If the plant is comfortable it will grow and live. In water propagation of plants we start from a cutting (without roots) which we put into a container with water to root. In both cases we use water to maintain and develop the plant.
We talk about hormones.
The growth of plant cells and tissues is regulated by a group of phytohormones called auxins. Their mission is to activate the speed of plant growth, especially at the top, and to determine the development of lateral shoots and roots, leaves, flowers and fruits. In fact, the word auxin comes from the Greek “auxein” which means to increase. In water propagation of plants, if we strategically add auxins to the liquid, we can make them take root more effectively and faster.
The best plants for success:
You need a mature and healthy plant, to get proper cuttings, which will resist the growing process on their own.
Here are some of the best species to start with:
– Dracaena sanderiana (Lucky Bamboo)
– Epipremnum aureum (Devil’s vine or devil’s ivy)
– Aglaonema conmutatum (Chinese evergreen)
– Hedera helix (Ivy)
– Philodendron scandens (Heart-leaved philodendron)
– Chlorophytum comosum (Spider plant)
Short guide to propagating cuttings by water:
1. You need a healthy adult plant to start with.
2. Cut off a branch of about 10 centimetres that includes one or two nodes (this is where the new roots will grow). Use a clean pair of scissors and make a precise cut, don’t be afraid!
3. Fill a clean glass container with water (Tip: if the water is filtered it will contain more minerals, and the quality of the water will be higher).
4. Put the branch in the container and remove the leaves that remain in the water. This way the stem is clean and emptied.
5. Now would be a good time to add rooting liquid (Spoiler! At the end of the post I will show you how to make a natural and ecofriendly rooting).
(Note: This step is not mandatory, but we have already said that a high concentration of auxins helps in root formation).
6. Select a sunny spot and place the container. It is not necessary to expose the cuttings to direct light, or in the propagation process… “Houston, we will have a problem”.
7. Now patience and wait. The wait is long; the rooting process takes several weeks. In the meantime, keep the water clean and change it at least once a week.
8. Once the roots have grown to a good length, you can transplant the new plant into a soil plant pot or keep it in hydro culture. It’s up to you!
Do It Yourself! Rooting ecofriendly:
Let’s go DIY! This time I want to show you how to make a natural and ecological rooting. Something we love at Espores is to show you that we can always get the best from the vegetable world:
Materials:
1 cup of dry beans
4 cups of water
2 clear containers
1 strainer
1 funnel
1 cloth
1 blender
Step by step:
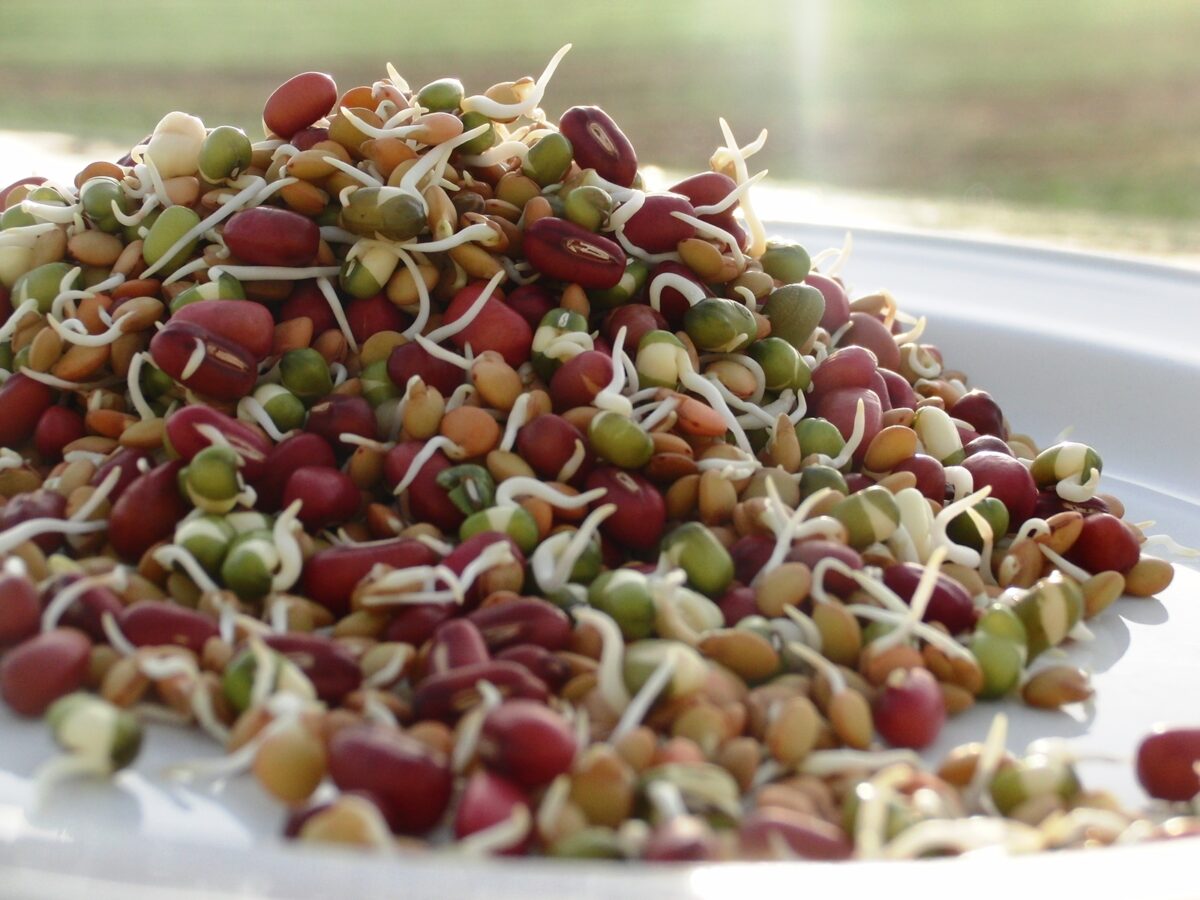
1. Prepare 4 cups of water in a container and add 1 cup of beans. Cover with a cloth and leave to stand for 8-10 hours.
2. After 8 hours, using a funnel and a strainer, strain the water into another container and set aside.
3. The beans that remain from the beginning (without water) should be kept damp in order to cause them to germinate, so cover them again with the cloth and leave them for 24 hours.
4. After one day, pour back the liquid that we had reserved together with the stiffs to rehydrate them. Leave the mixture for 10-15 minutes. Strain again, and leave for another 24 hours covered with the cloth.
5. Repeat step 4 every day until most of the beans are sprouted. (Tip: if in the repeated process of rehydrating and straining any of the sprouts come out, or look bad, it is best to remove them).
6. Once the stiffs are fully germinated, add half of the water that you have been using every day for rehydrating/straining, and another half of new water. Then pass it all through the blender.
7. When it is completely blended, separate the liquid part with the help of a strainer into a clean container (it can be a bottle). This will be our concentrated rooting!
To use the liquid take into account these measurements, for each part of rooting we will use 5 parts of water. The leftover can be stored in the fridge for up to 2 weeks.
There we have learned the differences between hydroculture and water propagation, it is your choice which way you want to experiment!
In both cases patience and waiting are required. Plants are living beings that, in general, do not have an instantaneous response to the stimuli they receive. They live in slow mode and it takes them some time to show us if they are at ease or if they need some modification.
You can follow my adventures on Instagram @baladre_crafting_creativity
This post is dedicated to my friend Eli Caballer, “The night is darkest just before the dawn” 懶

Bibliografia
https://ciencia.nasa.gov/proyecto-examina-c%C3%*B3mo-regar-plantas-en-el-espacio
http://www.curtisbiologia.com/m1624
https://digital.csic.es/bitstream/10261/60317/5/diaz_auxinas...pdf